Homemade Danish Recipe You Can Master at Home Easily Recipe
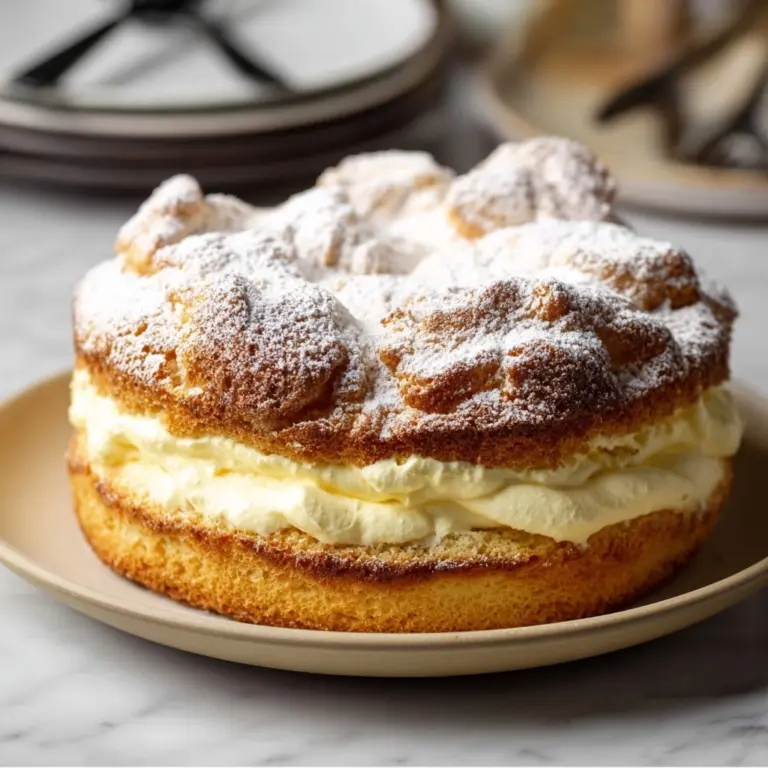
If you’ve ever gazed hungrily at a bakery window, eyeing those glossy, golden pastries brimming with creamy filling and fruit, you’re in for a treat. This Homemade Danish Recipe You Can Master at Home Easily brings that bakery magic right into your own kitchen—no pastry chef credentials required! Imagine pillowy layers of buttery dough, tangy cream cheese, and that sweet, drizzly glaze—all created by you, in your favorite apron. Whether you’re looking to impress company or indulge your own cravings, this recipe is all about approachable decadence and pure joy.

Ingredients You’ll Need
While Danishes seem like a bakery mystery, the ingredient list is actually quite familiar and straightforward. Each component works wonders for flavor, texture, or appearance, giving you wow-worthy pastries from simple beginnings.
- All-purpose flour: The sturdy backbone for a dough that turns light and flaky once layered.
- Granulated sugar: Just enough sweetness to balance the richness without overpowering the cream cheese.
- Salt: Don’t skip this—salt brings out all the lovely flavors in the dough and filling.
- Active dry yeast: The magic lifter, responsible for those dreamily airy layers.
- Whole milk (warm): Warm milk helps activate the yeast and makes your dough extra tender.
- Large egg (room temperature): Adds richness and helps your dough bind together.
- Cold unsalted butter (for laminating): Lots of it! The key for classic bakery-style layers, flakiness, and buttery aroma.
- Cream cheese (softened): The soul of the filling, melting into each bite with tangy richness.
- Granulated sugar (for filling): Sweetens the cream cheese and balances its tang.
- Vanilla extract: A must for warmth and depth in both filling and glaze.
- Zest of 1 lemon (optional): Adds brightness and a subtle zing to the filling.
- Powdered sugar: Essential for that signature sweet, glossy glaze.
- Milk or lemon juice (for glaze): Adjust for your favorite level of sweetness or tartness in the drizzle.
- Fruit preserves, fresh berries, or sliced almonds (optional): Fun and colorful toppings that make your danishes look instantly bakery-worthy.
How to Make Homemade Danish Recipe You Can Master at Home Easily
Step 1: Make the Dough
Begin your adventure by whisking flour, sugar, and salt together in a large mixing bowl. In a separate bowl, combine warm milk and yeast—let it sit for a few minutes until it becomes foamy, which means the yeast is alive and kicking. Stir in your egg, add this mixture to your dry ingredients, then knead everything together (by hand or mixer) for 6 to 8 minutes. The dough should feel smooth but not sticky. Pop it in the fridge to chill for 30 minutes—this is when you can prep that glorious butter block.
Step 2: Prepare the Butter Block
Laminating butter is where the magic (and flakiness!) happens. Take your cold butter and place it between two sheets of parchment paper. Use a rolling pin—or, let’s be honest, your favorite heavy skillet—to pound and shape it into an 8-inch square. You want the butter to be cold but pliable, so chill until just right. This block will soon become delicate, flaky layers in your Homemade Danish Recipe You Can Master at Home Easily.
Step 3: Laminate the Dough
Grab your now-chilled dough and roll it into a generous 16-inch square. Plop your butter block right in the center at a diagonal (so it looks like a diamond on the dough), then fold each dough corner over to seal the butter inside. Roll this butter bundle into a long rectangle, about 8 by 24 inches. Fold into thirds like a business letter, then chill for 30 minutes. Repeat this process twice more to build up those irresistible layers, always chilling between each fold.
Step 4: Shape the Danish
Now the fun part—shaping! Roll out your laminated dough to a quarter-inch thick slab, then cut it into 4-inch squares. Drop a generous spoonful of the cream cheese filling into each center (don’t skimp, you deserve it). Fold the corners any way you fancy—classically pinched, artistically twisted, or with a border to hold extras like berries or preserves. This is your moment to get creative!
Step 5: Proof and Bake
Arrange your assembled danishes on parchment-lined trays, giving them a little space to puff up. Let them proof at room temperature for about an hour, so they get beautifully airy. Preheat your oven to 390°F (200°C). Just before baking, brush the tops with egg wash or milk for extra shine. Bake for 15 to 20 minutes, until they’re golden and irresistible, and your kitchen smells like the heart of a European bakery.
Step 6: Glaze and Serve
Once your pastries are cool enough to handle, whip up your quick glaze by mixing powdered sugar with a splash of milk or lemon juice and vanilla. Drizzle artfully over each danish. Serve as-is, or top with fruit, preserves, or sliced almonds. It’s hard not to sneak one straight off the tray!
How to Serve Homemade Danish Recipe You Can Master at Home Easily

Garnishes
A dusting of powdered sugar, artful zigzags of glaze, or a scattering of berries or almond slivers not only add flavor, but turn your danishes into Instagram-worthy creations. Each garnish adds a unique touch—citrus zest for zing, plump berries for color, or even edible flowers for a whimsical brunch vibe.
Side Dishes
These danishes pair perfectly with a hot mug of coffee, chai, or freshly squeezed orange juice. For a fancier spread, add bowls of mixed fruit, a platter of cured meats, or a soft cheese board. The sweet, creamy danishes balance out both savory and fresh side dishes, making them the star of any brunch or breakfast gathering.
Creative Ways to Present
For maximum admiration, arrange your Homemade Danish Recipe You Can Master at Home Easily on a vintage cake stand or rustic wooden board. If you’re hosting a brunch, set out an assortment with varying shapes and toppings so guests can pick their favorites. Or, for a special touch, wrap cooled danishes in parchment and tie with twine for a delightful homemade gift.
Make Ahead and Storage
Storing Leftovers
If you find yourself with leftover danishes (which is a rare occurrence!), you can store them in an airtight container at room temperature for up to two days. The pastry will still taste dreamy, especially if you allow it a quick warm-up before enjoying. Keep them separate from moist foods to preserve their crisp exterior.
Freezing
Homemade Danish Recipe You Can Master at Home Easily is a freezer’s best friend! Once your pastries have cooled completely, place them in a single layer in a resealable container or freezer bag. They’ll stay delicious for up to two months. For best results, wrap each pastry in a bit of parchment to prevent sticking or freezer burn.
Reheating
To enjoy your danishes as if fresh-baked, pop them in a preheated oven at 325°F (160°C) for about 5 to 7 minutes—just until warmed through and slightly crisp. If you’ve added glaze, let the pastry cool the tiniest bit before digging in, so it doesn’t get too melty. Your kitchen will smell heavenly all over again!
FAQs
Can I make the dough in advance?
Absolutely! You can prepare the dough through the initial kneading and chilling stage one day ahead. Store it covered in the fridge and continue with butter lamination and shaping the next day. This flexible timeline makes the Homemade Danish Recipe You Can Master at Home Easily perfect for fitting into a busy schedule.
Do I need a stand mixer to make this?
No mixer required! You can knead the dough by hand—just be patient, and work until it’s smooth and elastic. A stand mixer with a dough hook does make things easier, but a little elbow grease gets the job done just as well.
What fruits work best as toppings?
Fresh berries like blueberries, raspberries, or sliced strawberries add color and juiciness, while stone fruits such as cherries or apricots (fresh or jam) are classic too. Even a dollop of high-quality fruit preserves can turn your Homemade Danish Recipe You Can Master at Home Easily into a true bakery showstopper.
Can I skip the cream cheese filling?
Of course! While the cream cheese filling brings classic flavor, you can try almond paste, pastry cream, or just go fruit-only if you like. Each variation brings its own charm and allows you to personalize your Homemade Danish Recipe You Can Master at Home Easily experience.
How do I know when the pastry is done baking?
Your danishes are ready when the tops turn golden brown and the house starts to smell like sweet, buttery heaven. Look for slight puffing and a firm, crisp edge. If you’re unsure, gently lift one and check the bottom for a golden finish—perfection!
Final Thoughts
There’s nothing quite like pulling a tray of flaky, golden pastries from your own oven and knowing you created something bakery-beautiful. The Homemade Danish Recipe You Can Master at Home Easily truly lives up to its name, rewarding you with buttery layers, luscious filling, and sweet, proud moments of sharing. Go ahead—pour a cup of coffee, invite over someone you love, and bite into the magic you just made at home!
PrintHomemade Danish Recipe You Can Master at Home Easily Recipe
Learn how to make delicious homemade Danish pastries from scratch with this easy-to-follow recipe. These flaky pastries filled with creamy cheese and topped with a sweet glaze are perfect for breakfast or a delightful snack.
- Prep Time: 1 hour
- Cook Time: 20 minutes
- Total Time: 2 hours
- Yield: Makes about 12 pastries 1x
- Category: Breakfast, Snack
- Method: Baking
- Cuisine: Danish
- Diet: Vegetarian
Ingredients
For the Dough:
- 4 cups (500g) all-purpose flour
- 1/3 cup (75g) granulated sugar
- 1 tsp salt
- 1 tbsp (10g) active dry yeast
- 1 cup (240ml) whole milk, warm
- 1 large egg, room temperature
- 1 cup + 2 tbsp (250g) cold unsalted butter, for laminating
For the Cream Cheese Filling:
- 7 oz (200g) cream cheese, softened
- 1/4 cup (50g) granulated sugar
- 1 tsp vanilla extract
- Zest of 1 lemon (optional)
For the Glaze:
- 1 cup (100g) powdered sugar
- 1–2 tbsp milk or lemon juice
- 1/2 tsp vanilla extract
- Optional: Fruit preserves, fresh berries, or sliced almonds for topping
Instructions
- Make the Dough – In a large bowl, mix flour, sugar, and salt. In another bowl, combine warm milk and yeast, let sit for 5–10 minutes until foamy. Add egg and yeast mixture to dry ingredients. Mix and knead until smooth (about 6–8 minutes). Cover and chill for 30 minutes.
- Prepare Butter Block – Place cold butter between parchment sheets. Pound and shape into an 8-inch square. Chill until firm yet pliable.
- Laminate the Dough – Roll dough into a 16-inch square. Place butter in the center like a diamond. Fold corners over to seal. Roll into a long rectangle (8×24 inches). Fold into thirds like a letter. Chill 30 mins. Repeat rolling and folding 2 more times, chilling in between.
- Shape the Danish – Roll dough to 1/4-inch thickness. Cut into 4-inch squares. Add a tablespoon of cream cheese filling to the center. Fold corners or shape as desired. Add berries or jam if using.
- Proof and Bake – Place on parchment-lined baking sheets. Let rise at room temp for 1 hour. Preheat oven to 390°F (200°C). Brush with egg wash or milk. Bake 15–20 minutes until golden brown.
- Glaze and Serve – Cool completely. Mix powdered sugar, milk/lemon juice, and vanilla for glaze. Drizzle and serve!
Notes
- This recipe requires some chilling time for the dough, so plan accordingly.
- You can customize the filling with different flavors or add toppings based on your preferences.
Nutrition
- Serving Size: 1 pastry
- Calories: 280
- Sugar: 12g
- Sodium: 220mg
- Fat: 15g
- Saturated Fat: 9g
- Unsaturated Fat: 5g
- Trans Fat: 0g
- Carbohydrates: 30g
- Fiber: 1g
- Protein: 5g
- Cholesterol: 55mg
Keywords: Danish pastry, homemade Danish, cream cheese Danish, pastry recipe


