
Heavenly Oreo Dessert Recipe
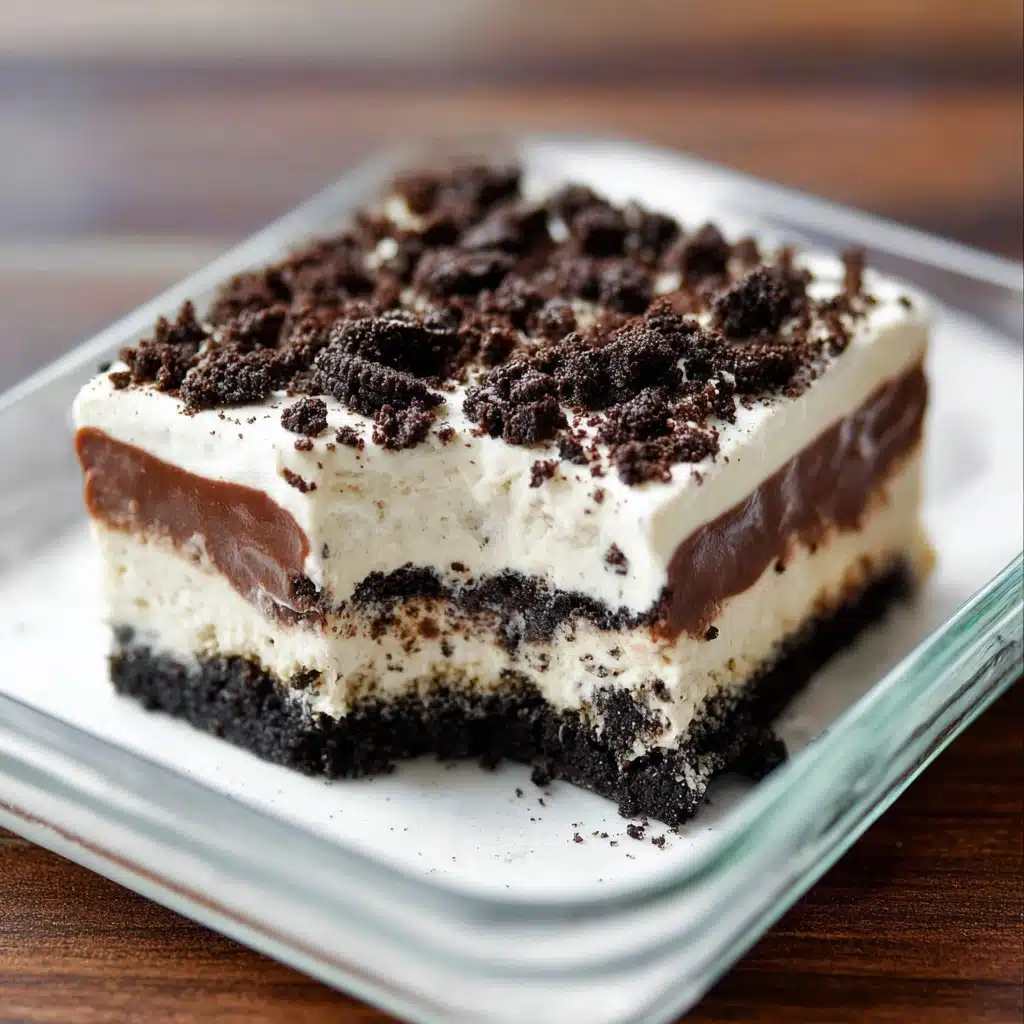
If you’ve got a craving for pure, chocolatey bliss layered with luscious creaminess, then this Heavenly Oreo Dessert is about to become your go-to treat. Imagine layers of chunky, buttery Oreo crust, fluffy clouds of Cool Whip, a creamy cheesecake layer, and glossy chocolate pudding—each bite is a magical mix of textures and flavors! This fan-favorite dessert takes all the nostalgia of dunking Oreos and builds it into a decadent slice, perfect for parties or a family night in. Whether you’re whipping it up for a celebration or a weeknight surprise, Heavenly Oreo Dessert lives up to its name every time.

Ingredients You’ll Need
The ingredient list for Heavenly Oreo Dessert is as simple as it is clever. Each item blends together to create a balanced experience: rich, smooth, crunchy, and incredibly satisfying in every forkful.
- Double-Stuffed Oreo cookies: For that unmistakable cookies-and-cream crunch and extra creamy filling, you’ll want a whole package.
- Butter, melted: This binds the cookie crumbs into a perfectly rich, sliceable crust.
- Instant chocolate pudding mix: The classic cocoa flavor that becomes creamy and dreamy when mixed with milk.
- Cold milk: Essential for whipping the pudding into a smooth, silky layer.
- Cool Whip, thawed: This provides lightness and gives the dessert its signature fluffy topping and filling.
- Cream cheese, softened: Adds tang and creaminess in the middle layer, so let it come to room temp first.
- Powdered sugar: For a touch of sweetness that rounds out the cream cheese filling beautifully.
How to Make Heavenly Oreo Dessert
Step 1: Crush the Oreos
Begin with the most satisfying job—crushing those Double-Stuffed Oreo cookies! Place all the cookies into a large zip-lock bag, seal it tight, and gently crush with a rolling pin. The goal is to get small chunks and coarse crumbs, not a fine powder. This guarantees every bite still has an incredible crunch and little surprises of Oreo.
Step 2: Make the Oreo Crust
Set aside about a third of your beautiful cookie crumbles for the topping later. Take the rest and pour them into a 9×13-inch baking pan. Drizzle the melted butter over the crumbs, then mix together until every crumb is glistening and ready to stick together. With clean hands or the back of a spoon, gently but firmly press the mixture into the bottom of the pan to form a crust. Don’t worry if it’s a little rustic—this forms the irresistible foundation for your Heavenly Oreo Dessert.
Step 3: Whip Up the Chocolate Pudding
In a medium bowl, whisk together both boxes of instant chocolate pudding and the cold milk. Give it a vigorous whisk for about 2 minutes until it’s completely smooth. Pop the pudding into the fridge to set while you move to the next layer—the chill time gives it that velvety, thick texture we love.
Step 4: Prepare the Cream Cheese Layer
In a separate bowl, beat the softened cream cheese with the powdered sugar until super smooth—no grainy bits! Gently fold in one container of Cool Whip, combining until it’s light and airy. Spread this dreamy mixture evenly over your Oreo crust, making sure to take it all the way to the edges so every slice is loaded with creamy goodness.
Step 5: Layer the Chocolate Pudding
Once the pudding has set, spread it right over the cream cheese layer, using a spatula to create an even, luscious blanket of chocolate. This step brings richness and sends Heavenly Oreo Dessert into pure luxury territory.
Step 6: Top with Whipped Topping and Oreos
Dollop the remaining container of Cool Whip over the pudding—swirl, fluff, and smooth it out to cover the entire dessert. Finally, grab those reserved Oreo crumbs and sprinkle them generously over the top. Cover the pan and refrigerate for at least 4 hours (or overnight!) so everything sets up perfectly and the flavors meld like magic.
How to Serve Heavenly Oreo Dessert
Garnishes
Don’t be shy about making your Heavenly Oreo Dessert pop! A final sprinkle of reserved Oreo pieces is a must, but you can go even fancier with chocolate shavings, mini chocolate chips, or a drizzle of chocolate syrup. If you want show-stopping slices, add a whole or half Oreo cookie on top of each serving just before bringing it to the table.
Side Dishes
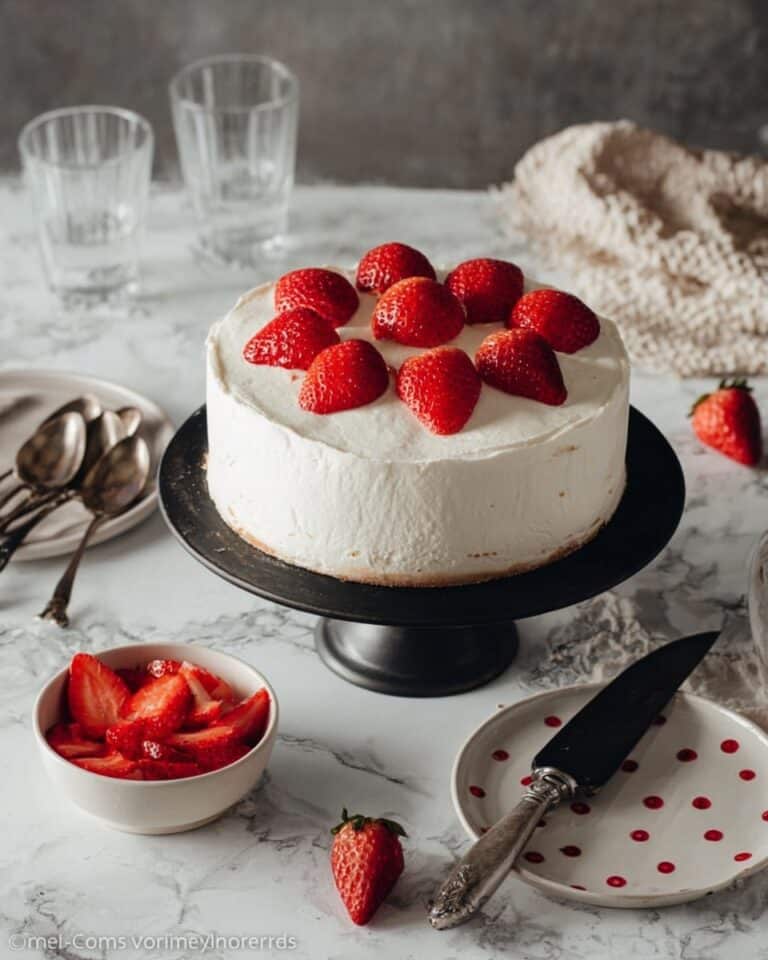
This dessert is a star all by itself, but you can pair it with small bowls of fresh strawberries, raspberries, or a fruit salad for a refreshing contrast. Even a cold glass of milk or a hot cup of coffee balances the flavors and offers an ideal way to round out a rich treat like Heavenly Oreo Dessert.
Creative Ways to Present
If you’re feeling playful, try layering Heavenly Oreo Dessert in individual mason jars or dessert glasses—perfect for parties or picnics! For special occasions, cut the dessert into neat squares and use parchment to lift out pretty, picture-worthy slices. You can even try a trifle or parfait version, adding layers of extra whipped topping and pudding for dramatic flair.
Make Ahead and Storage
Storing Leftovers
Leftover Heavenly Oreo Dessert will keep beautifully in the refrigerator for up to 4 days. Simply cover the dish tightly with plastic wrap or an airtight lid to keep it fresh. The layers hold up nicely, and the flavors become even more delicious over time.
Freezing
If you need to make it well ahead, you can freeze the dessert before adding the last layer of whipped topping and Oreos. Wrap tightly, freeze up to one month, and then thaw in the fridge. Freshly add the topping and reserved crumbs before serving for the best texture and look.
Reheating
Heavenly Oreo Dessert is designed to be served cold, so reheating isn’t needed! If it’s been in the freezer, just allow it to thaw in the refrigerator overnight, and it will be ready to enjoy.
FAQs
Can I use regular Oreos instead of Double-Stuffed?
Absolutely! Double-Stuffed adds extra filling for richness, but classic Oreos work just as well if that’s your preference—they’ll still give the dessert that signature cookies-and-cream punch.
What if I don’t have Cool Whip?
You can substitute homemade whipped cream (beat 1 1/2 cups of cold heavy cream with 1/4 cup powdered sugar until soft peaks form) for a wonderfully fresh touch, though the texture may be slightly different.
Is there a gluten-free option for this dessert?
Yes! There are several brands of gluten-free chocolate sandwich cookies that will deliver the same crunch and flavor, so everyone can enjoy Heavenly Oreo Dessert without worry.
Can I make Heavenly Oreo Dessert a day ahead?
Making it a day ahead is actually ideal—the flavors mingle and the layers set perfectly, making the dessert even more irresistible. Just keep it refrigerated and covered until ready to serve.
How can I make clean cuts when serving?
For those pretty, bakery-style slices, use a sharp knife and wipe it clean between cuts. Chilling the dessert well before serving also helps maintain neat, defined layers.
Final Thoughts
This Heavenly Oreo Dessert is truly a slice of nostalgia and joy, ready to win hearts at any meal. If you’re looking for a crowd-pleasing, no-bake treat that feels special but couldn’t be easier, don’t hesitate—dive in and make it your own. Give it a try, and watch it disappear even faster than you made it!
PrintHeavenly Oreo Dessert Recipe

Indulge in this heavenly Oreo dessert that is a perfect blend of creamy, chocolaty goodness. With layers of crushed Oreo cookies, velvety pudding, and fluffy whipped cream, every bite is a delightful treat.
- Prep Time: 20 minutes
- Cook Time: 0 minutes
- Total Time: 4 hours
- Yield: 12 servings 1x
- Category: Dessert
- Method: Baking
- Cuisine: American
- Diet: Vegetarian
Ingredients
Oreo Crust:
- 1 package (15.35 ounces) Double-Stuffed Oreo cookies
- 1/2 cup butter, melted
Pudding Layer:
- 2 boxes (3.9 ounces each) instant chocolate pudding mix
- 3 ¼ cups cold milk
Cream Layer:
- 2 containers (8 ounces each) Cool Whip, thawed
- 1 block (8 ounces) cream cheese, softened
- 1 cup powdered sugar
Instructions
- Prepare Oreo Crust: Crush Oreo cookies in a zip-lock bag. Mix with melted butter and press into a 9×13 baking pan.
- Make Pudding Layer: Whisk together pudding mixes and milk, then refrigerate to set.
Notes
- This dessert can be refrigerated for up to 3 days.
- For a twist, try using mint-flavored Oreo cookies.
Nutrition
- Serving Size: 1 serving
- Calories: 380
- Sugar: 32g
- Sodium: 420mg
- Fat: 22g
- Saturated Fat: 12g
- Unsaturated Fat: 8g
- Trans Fat: 0g
- Carbohydrates: 42g
- Fiber: 1g
- Protein: 5g
- Cholesterol: 35mg
Keywords: Oreo dessert, chocolate pudding, no-bake dessert


