
Delicious Stained Glass Cookies Recipe
Introduction
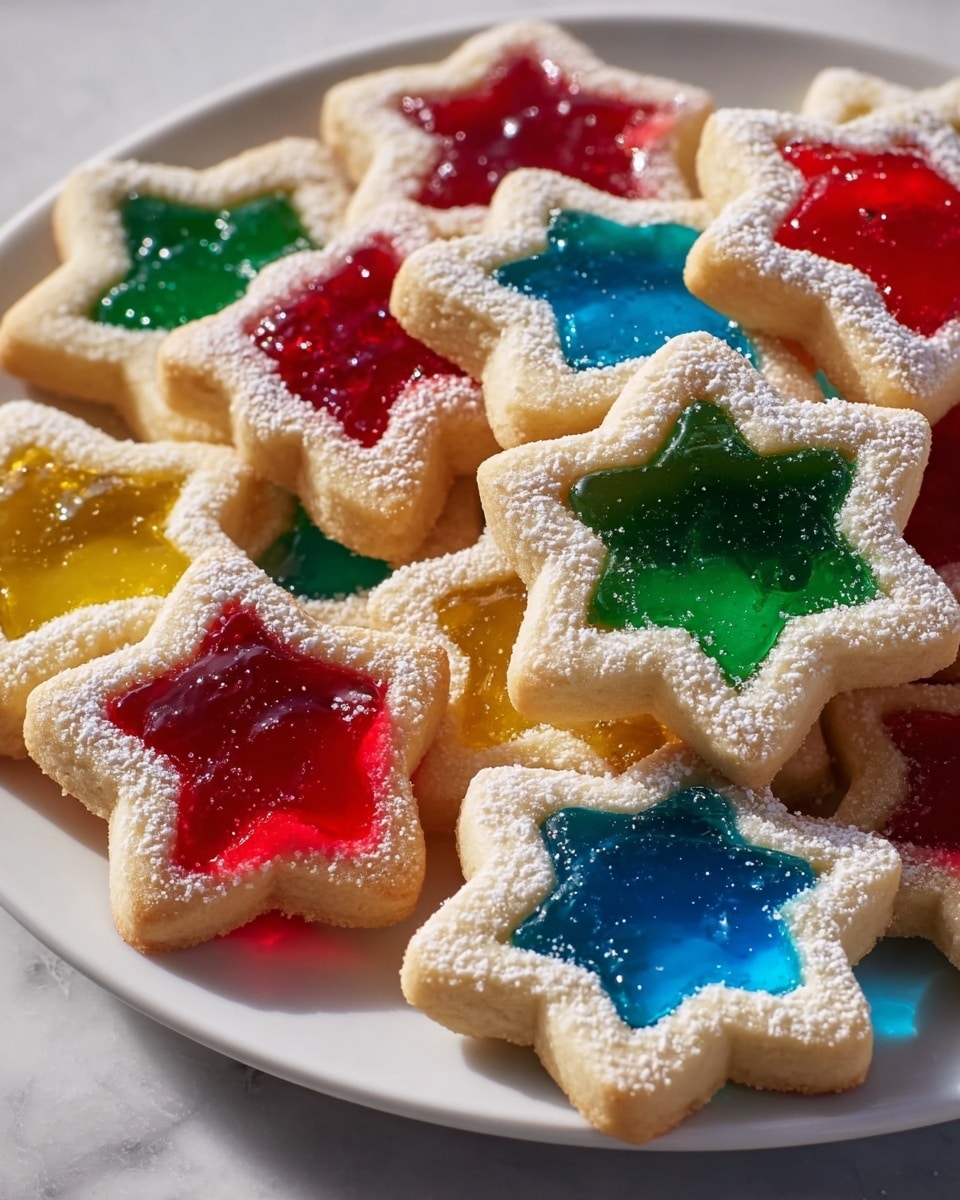
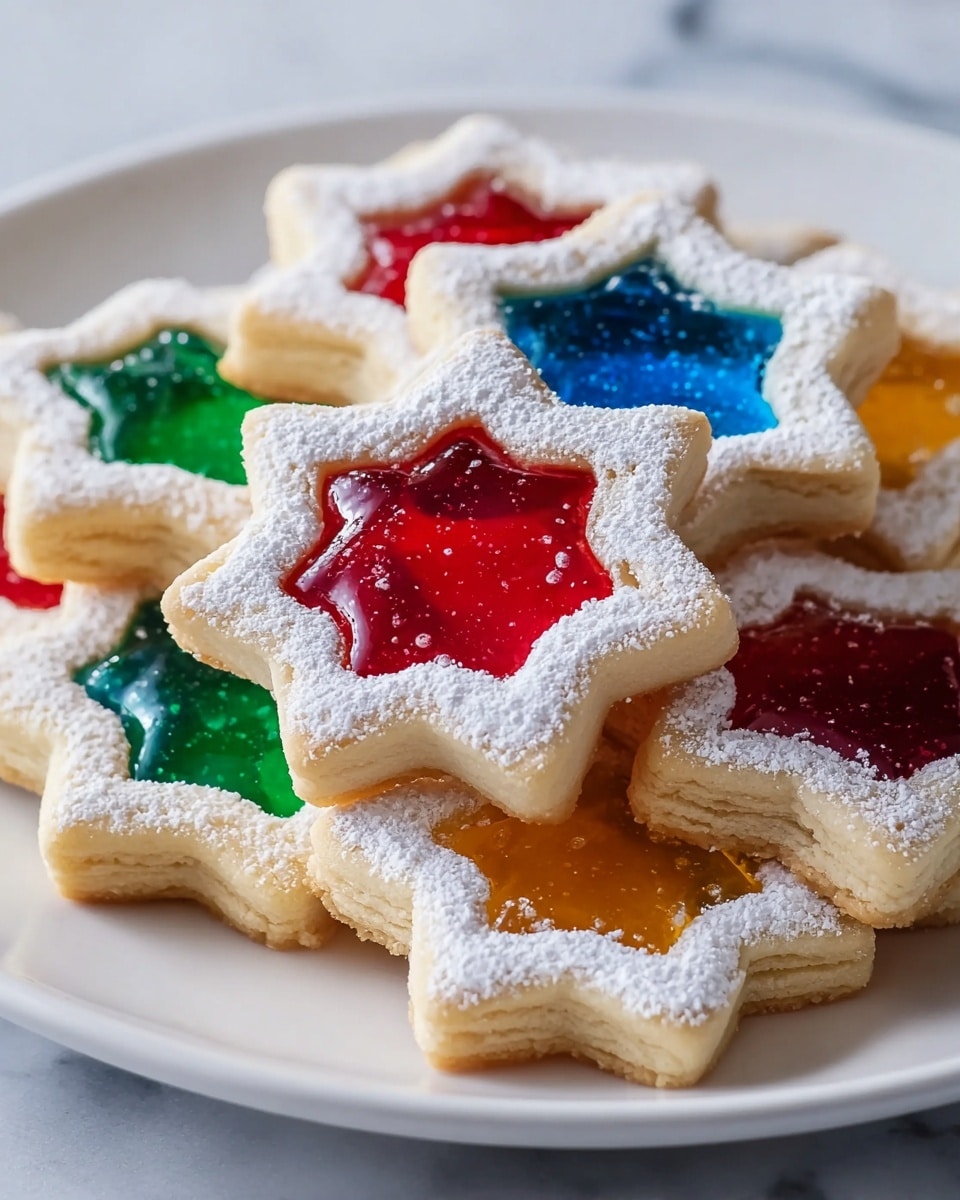
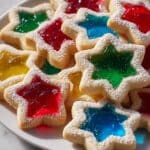
These Delicious Stained Glass Cookies are a fun and colorful treat perfect for any occasion. With a simple sugar cookie base and vibrant melted candy centers, they bring both taste and beauty to your cookie jar.
Ingredients
- 1 cup unsalted butter, softened
- 1 cup granulated sugar
- 2 large eggs
- 1 teaspoon vanilla extract
- 3 cups all-purpose flour
- 1 teaspoon baking powder
- Pinch of salt
- Assorted hard candies (like Jolly Ranchers or Life Savers), crushed
- Gel food coloring (optional)
Instructions
- Step 1: In a large mixing bowl, cream together the softened butter and granulated sugar until light and fluffy. Beat in the eggs and vanilla extract until well combined.
- Step 2: In a separate bowl, whisk together the flour, baking powder, and salt. Gradually add the dry ingredients to the wet mixture, stirring just until combined.
- Step 3: Divide the dough into two equal parts, wrap each in plastic wrap, and refrigerate for at least 1 hour to firm up the dough for easier handling.
- Step 4: Preheat your oven to 350°F (175°C). On a floured surface, roll out one portion of dough to about 1/4-inch thickness. Use cookie cutters to cut out shapes, then use smaller cutters to remove the centers, creating a window.
- Step 5: Place crushed hard candies generously into each cookie center. The candy will melt and fill the window during baking.
- Step 6: Arrange cookies on a parchment-lined baking sheet. Bake for 10-12 minutes or until the edges begin to turn light golden. Watch carefully to avoid overbaking.
- Step 7: Let the cookies cool on the baking sheet for a few minutes before transferring to a wire rack. Allow the melted candy to harden completely before serving.
Tips & Variations
- Use gel food coloring in your dough to add a colorful twist to the cookie edges.
- For a dairy-free dough, substitute butter with coconut oil or vegan butter alternatives.
- Try using brown sugar instead of granulated sugar for a richer flavor.
- To make gluten-free cookies, replace all-purpose flour with a 1:1 gluten-free flour blend.
- Natural food colors like beet juice or matcha powder can be used instead of gel colors.
- Swap eggs with a flax egg (1 tablespoon ground flaxseed mixed with 2.5 tablespoons water) for an egg-free version.
Storage
Store the stained glass cookies in an airtight container at room temperature for up to one week. To keep the candy centers from becoming sticky or dull, separate layers with parchment paper. Reheating is not recommended as it may soften the hardened candy centers.
How to Serve
Serve this delicious recipe with your favorite sides.
FAQs
Can I use regular food coloring instead of gel?
You can, but gel food coloring provides more vibrant colors without altering the dough’s consistency. Regular food coloring may make the dough too wet or runny.
What if my candy centers don’t harden after baking?
If the candy centers remain soft, it might be due to baking at too low a temperature or using thick candy pieces. Ensure the oven is properly preheated and use thinly crushed hard candies for the best stained glass effect.
PrintDelicious Stained Glass Cookies Recipe
These Delicious Stained Glass Cookies are charming sugar cookies with a colorful, translucent candy center that creates a beautiful stained glass effect. Perfect for festive occasions or as a fun baking project, this recipe uses a classic sugar cookie dough base combined with crushed hard candies that melt and harden during baking, resulting in a stunning cookie that’s as delightful to look at as it is to eat.
- Prep Time: 20 minutes
- Cook Time: 12 minutes
- Total Time: 1 hour 32 minutes
- Yield: About 24 cookies 1x
- Category: Dessert
- Method: Baking
- Cuisine: American
- Diet: Vegetarian
Ingredients
Dough Ingredients
- 1 cup unsalted butter, softened
- 1 cup granulated sugar
- 2 large eggs
- 1 teaspoon vanilla extract
- 3 cups all-purpose flour
- 1 teaspoon baking powder
- Pinch of salt
Decorative Ingredients
- Crushed hard candies (e.g., Jolly Ranchers or Life Savers), various colors
- Gel food coloring (optional for coloring dough)
Instructions
- Prepare the Dough: In a large mixing bowl, cream together 1 cup of softened unsalted butter and 1 cup of granulated sugar until the mixture is light and fluffy. Then, add 2 large eggs and 1 teaspoon of vanilla extract, mixing well to fully combine.
- Combine Dry Ingredients: In a separate bowl, whisk together 3 cups of all-purpose flour, 1 teaspoon of baking powder, and a pinch of salt. Gradually add this dry mixture into the wet ingredients, stirring until just combined and a dough forms.
- Chill the Dough: Divide the dough evenly into two parts. Wrap each portion tightly in plastic wrap and refrigerate for at least 1 hour. Chilling firms the dough, making it easier to roll out and cut.
- Roll Out the Dough: Lightly flour a clean surface and roll one portion of the chilled dough to about 1/4-inch thickness. Use a large cookie cutter to cut your desired shapes. Using a smaller cookie cutter, carefully cut out the center of each cookie to create a window.
- Add the Candy: Fill the hollow centers of each cookie with a generous amount of crushed hard candies in different colors. This will melt during baking to form the stained glass effect.
- Bake: Preheat your oven to 350°F (175°C). Arrange the cookies on a parchment-lined baking sheet and bake for 10-12 minutes, or until the cookie edges are lightly golden and the candy centers have melted completely.
- Cool and Enjoy: Allow the cookies to cool on the baking sheet for several minutes to let the candy harden, then transfer them to a wire rack to cool completely. The centers will solidify into a beautiful stained glass window effect.
Notes
- You can substitute unsalted butter with coconut oil or vegan butter for a dairy-free option.
- For a gluten-free version, replace all-purpose flour with a 1:1 gluten-free flour blend.
- Egg substitutes like a flax egg (1 tablespoon ground flaxseed mixed with 2.5 tablespoons water per egg) work well for vegan baking.
- Gel food coloring can be added to the dough for vibrant hues, or use natural colorants such as beet juice or matcha.
- Use a variety of colored hard candies to create diverse stained glass effects in your cookies.
- Keep a close watch while baking as the candy centers can quickly burn if left unattended.
Keywords: stained glass cookies, sugar cookies, holiday cookies, hard candy cookies, festive baking, colorful cookies, sugar cookie recipe


