
Butterfinger Balls Recipe
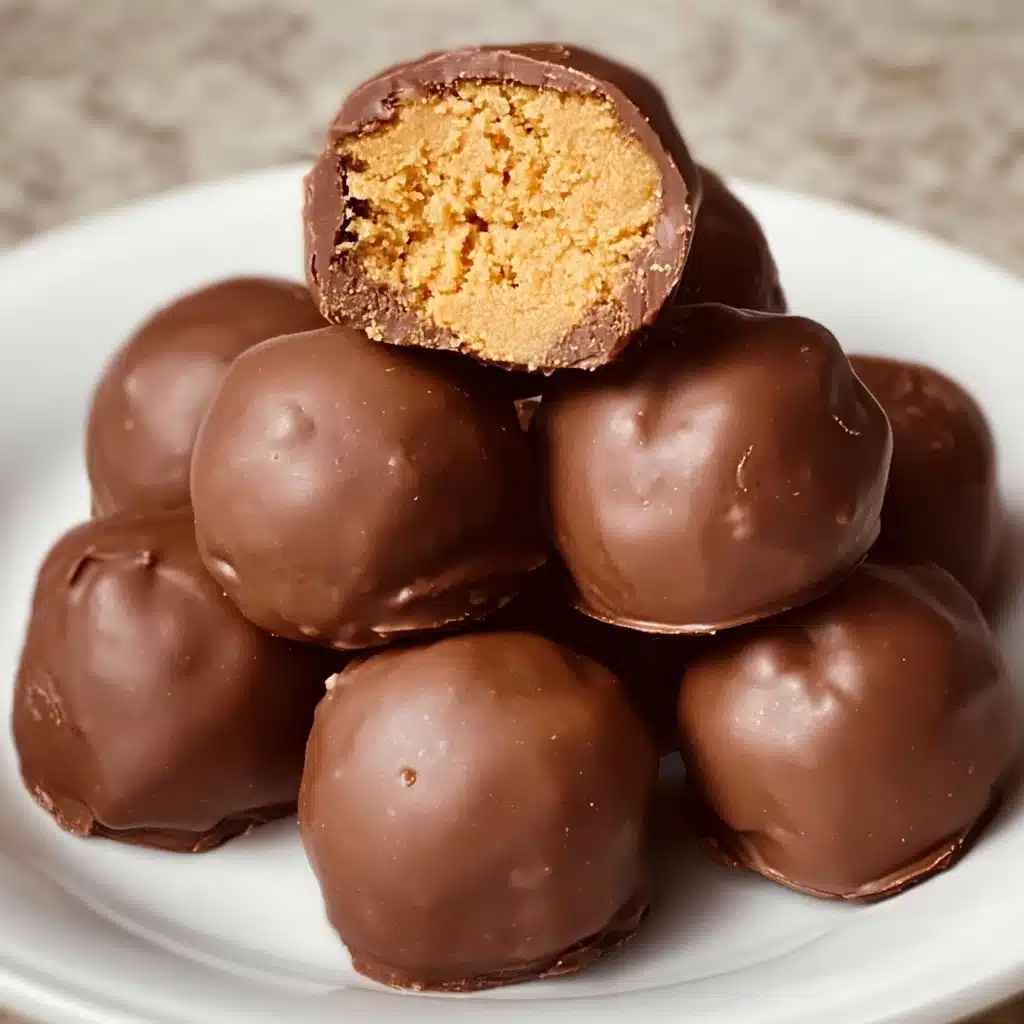
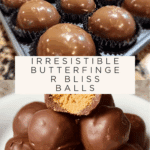
If you’re on the hunt for a no-bake treat that captures the magic of candy bars with a pinch of nostalgia, look no further than Butterfinger Balls. These irresistible bite-sized confections combine a creamy peanut butter center, crunchy Butterfinger bits, and a decadent chocolate coating, making every bite a festival of textures and flavors. Perfect for holidays, parties, or an afternoon snack, they’re simple to prepare and always the first thing to disappear on dessert platters!
Ingredients You’ll Need
You only need a handful of pantry-friendly ingredients for Butterfinger Balls, and every component adds its own character. The result is a candy that’s crunchy, creamy, chocolatey, and oh-so-memorable!
- Butter (softened): Gives the filling its rich and silky-smooth texture.
- Vanilla extract: Adds aroma and a subtle warmth to round out the flavor.
- Chocolate bark or chocolate chips: Creates a crackly, sweet coating that pairs perfectly with peanut butter.
- Crushed Butterfinger bars: Delivers signature crunch and caramelized, peanut-buttery notes.
- Powdered sugar: Sweetens the filling while keeping it light and creamy.
- Peanut butter (not all-natural): The heart of the recipe, giving a classic, cohesive base—stick to regular peanut butter for the best texture.
- Graham cracker crumbs: Adds subtle crunch and structure to help the balls hold shape.
- Optional garnishes: Top with extra crushed Butterfinger bars, sprinkles, or coarse sea salt for flavor and flair.
How to Make Butterfinger Balls
Step 1: Prepare the Dough
Start by combining the peanut butter and softened butter in a mixing bowl. Beat them together with an electric or stand mixer set to medium speed until the mixture becomes creamy, fluffy, and totally uniform—this ensures you won’t get any pockets of butter when you bite into the finished Butterfinger Balls.
Step 2: Add Aromatic Notes
Next, pour in the vanilla extract and blend it thoroughly with your creamy base. Vanilla elevates all the other flavors, giving the filling a warm, homemade aroma that shines through even after the balls are dipped in chocolate.
Step 3: Sweeten the Deal
Begin adding the powdered sugar in small increments, beating on low speed so it combines evenly and doesn’t leave sugar clouds in your kitchen. Take a moment to scrape down the bowl’s sides—uniform sweetness is key for the perfect Butterfinger Balls experience!
Step 4: Crunch Time!
Gently fold in the graham cracker crumbs and crushed Butterfinger bars. This is where the magic happens—the filling takes on a fabulous crunch, dotted with caramel-like pieces that set these treats apart from any ordinary truffle.
Step 5: Shape ’em Up
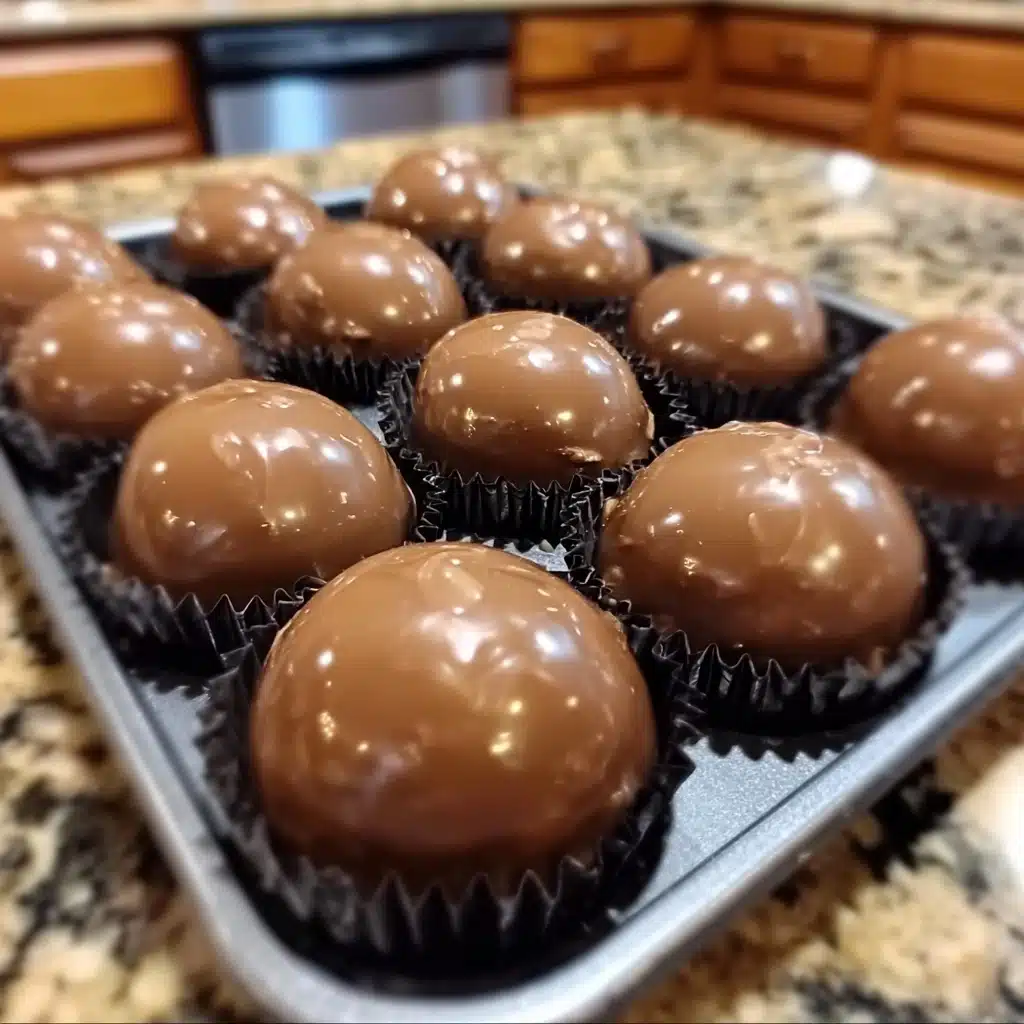
Line a large cookie sheet with parchment paper. Scoop out about a tablespoon or so of dough and roll it into a smooth ball between your palms. Place each one on the prepared sheet, keeping them evenly spaced. They should look plump and promising already!
Step 6: Chilling Phase
Pop the tray into your freezer for about 30 minutes. This is crucial—the Butterfinger Balls must be nice and firm so they don’t fall apart or melt when dunked in hot chocolate later. Trust me, patience here means perfect results.
Step 7: Melting the Chocolate
Once your Butterfinger Balls are chilled through, melt the chocolate bark or chips in a microwave-safe bowl. Heat in short, 30-second bursts at 50% power, stirring between each session. It’s okay if a few lumps remain; they’ll melt as you keep stirring and you’ll avoid scorching the chocolate.
Step 8: Coat and Decorate
Set up a little dipping station and submerge each chilled ball into the melty chocolate until fully coated—or leave a little peanut butter peeking through if you want a rustic look. While the chocolate is still wet, sprinkle with extra crushed Butterfinger bars, festive sprinkles, or a light touch of flaky sea salt.
Step 9: The Grand Finale
Let your creations rest on the parchment until the chocolate has completely set. Now you’re ready to indulge, gift, or store your Butterfinger Bliss Balls for later snacking!
How to Serve Butterfinger Balls
Garnishes
Dial up the excitement by topping your Butterfinger Balls with a scatter of extra crushed Butterfinger bars, vibrant sprinkles for that party vibe, or a pinch of coarse sea salt if you love a sweet-salty combo. These little details make the treats as dazzling as they are delicious.
Side Dishes
Pair Butterfinger Balls with mugs of hot coffee or cocoa for a cozy night in, or plate them alongside fresh fruit kebabs and caramel sauce on a party platter. Their richness means they can also stand happily next to lighter, tangy desserts like lemon bars or berries and cream.
Creative Ways to Present
Try arranging your Butterfinger Balls in mini cupcake liners for a bakery-style look, or pile them into a festive tin for gifting. During holidays, you can set them on a bed of themed sprinkles, or skewer each on a party stick for the ultimate dessert pop!
Make Ahead and Storage
Storing Leftovers
Keep any leftover Butterfinger Balls in an airtight container in the refrigerator, where they’ll stay fresh and firm for up to a week. The cool temperature keeps the chocolate crisp and prevents the filling from becoming too soft.
Freezing
If you need your treats to last even longer, pop them into a freezer-safe container, separating layers with wax paper. They’ll freeze beautifully for up to two months—just thaw in the fridge to bring them back to their original glory.
Reheating
While Butterfinger Balls are best enjoyed chilled or at room temperature, if you do prefer them slightly softened, let them rest at room temp for 10-15 minutes after removing from the fridge or freezer. Avoid using the microwave, which could make the chocolate coating sweat.
FAQs
Can I use natural peanut butter in Butterfinger Balls?
It’s best to stick to regular, no-stir peanut butter since the natural oils in all-natural varieties can make the filling too runny and difficult to shape.
How do I crush Butterfinger bars evenly?
Place the bars in a zip-top bag and gently pound them with a rolling pin or meat mallet for quick, mess-free crushing that preserves the candy’s texture.
Can I coat Butterfinger Balls with white chocolate instead?
Absolutely! White chocolate adds a sweet, creamy touch that pairs wonderfully with the peanut butter core. You could even use half dark, half white chocolate for visual flair.
What’s the best way to gift these candies?
Arrange Butterfinger Balls in decorative boxes or tins with a layer of parchment and a ribbon for gifting. They travel well and hold up nicely at room temperature for a few hours.
Are Butterfinger Balls gluten free?
Not with the original recipe, as graham cracker crumbs usually contain gluten. Look for gluten-free graham crackers to adapt this classic for your needs.
Final Thoughts
Butterfinger Balls are pure candy joy—crunchy, chocolaty, and unbelievably easy to make. If you’re looking to bring a touch of fun to your dessert table or searching for the perfect edible gift, give these a try. I promise, everyone who tastes them will be asking for the recipe!
PrintButterfinger Balls Recipe

Indulge in these irresistible Butterfinger Balls, a delightful fusion of peanut butter, chocolate, and crunchy goodness. Perfect for satisfying your sweet tooth or impressing guests with a homemade treat!
- Prep Time: 20 minutes
- Cook Time: 5 minutes
- Total Time: 1 hour
- Yield: Makes about 24 balls 1x
- Category: Dessert
- Method: Mixing, Freezing, Melting, Coating
- Cuisine: American
- Diet: Vegetarian
Ingredients
Dough:
- 4 tablespoons softened butter (½ stick)
- 1 teaspoon vanilla extract
- 1 cup powdered sugar
- 1 cup peanut butter (avoid all-natural varieties)
- ¾ cup graham cracker crumbs
- ½ cup crushed Butterfinger bars
Optional Garnishes:
- Additional crushed Butterfinger bars
- Festive sprinkles
- Coarse sea salt
Coating:
- 8 ounces chocolate bark or chocolate chips
Instructions
- Prepare the Dough: In a mixing bowl, combine peanut butter and softened butter. Blend until creamy.
- Add Aromatic Notes: Mix in vanilla extract until well incorporated.
- Sweeten the Deal: Gradually add powdered sugar, scraping down sides for even mixing.
- Crunch Time: Gently fold in graham cracker crumbs and crushed Butterfinger bars.
- Shape ’em Up: Roll dough into balls and place on a lined cookie sheet.
- Chilling Phase: Freeze dough balls for 30 minutes until firm.
- Melting the Chocolate: Melt chocolate in a microwave-safe bowl in 30-second intervals, stirring in between.
- Coat and Decorate: Dip chilled balls in melted chocolate.
- Finishing Touches: Add optional garnishes.
- The Grand Finale: Let chocolate solidify before serving.
Nutrition
- Serving Size: 1 ball
- Calories: 180
- Sugar: 14g
- Sodium: 90mg
- Fat: 12g
- Saturated Fat: 5g
- Unsaturated Fat: 6g
- Trans Fat: 0g
- Carbohydrates: 17g
- Fiber: 1g
- Protein: 3g
- Cholesterol: 5mg
Keywords: Butterfinger Balls, Peanut Butter Balls, Chocolate Coated Treats, Homemade Candy