
Pink White Chocolate Fudge Recipe
Introduction
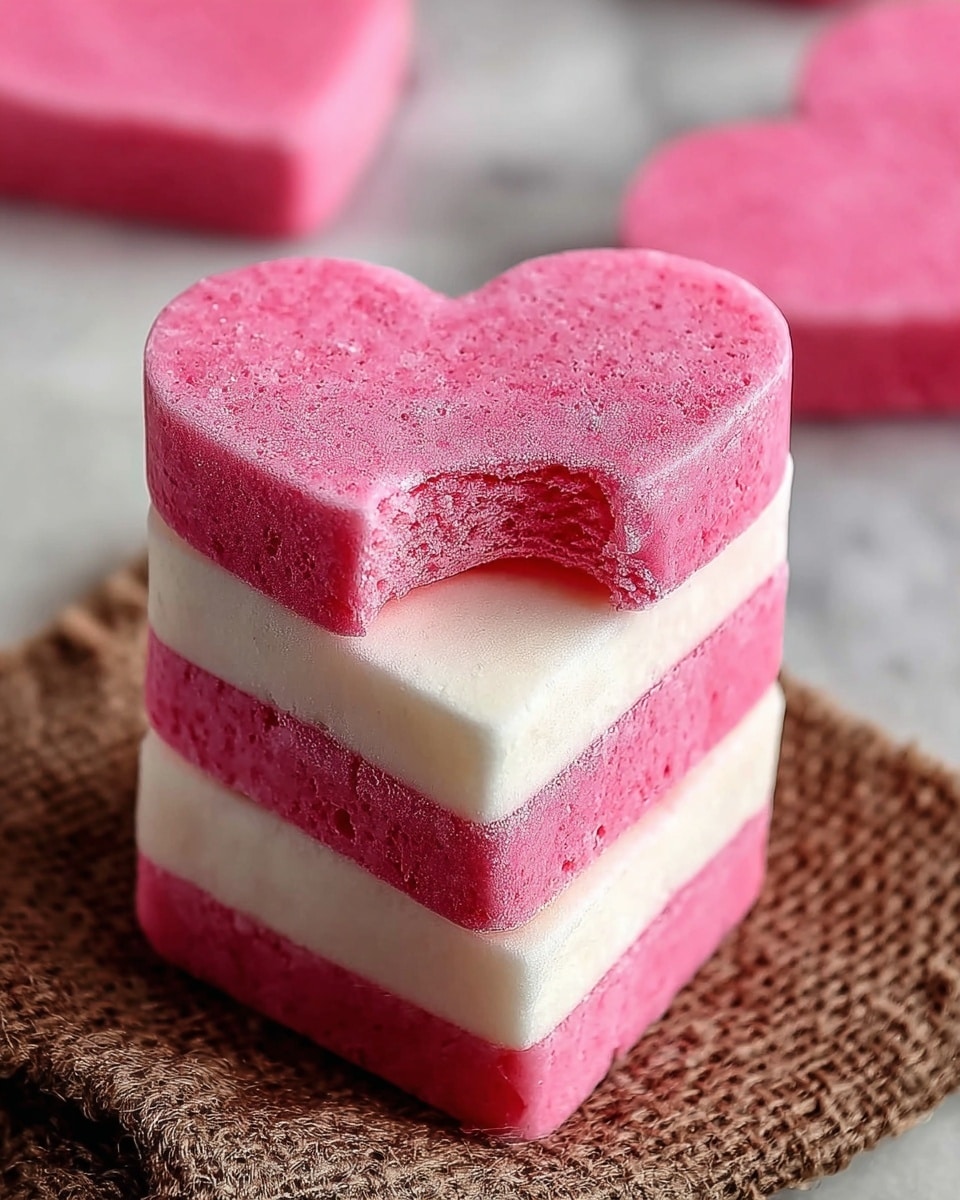
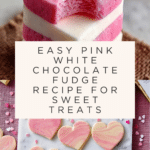
Pink White Chocolate Fudge is a delightful, creamy treat with a gentle hint of sweetness and a lovely blush color. This easy no-bake recipe combines smooth white chocolate with a touch of pink food coloring and optional dried cherries for a charming twist.
Ingredients
- 20 ounces white chocolate melting wafers (or high-quality chopped chocolate)
- ½ cup + 1 tablespoon sweetened condensed milk
- Pink gel food coloring (just a few drops)
- Sprinkles (optional)
- Dry cherries (optional)
Instructions
- Step 1: Line a 9×9 inch pan with parchment paper, allowing it to overhang on two sides. Set aside.
- Step 2: If using regular chocolate, chop it into small pieces before placing it in a large microwave-safe bowl.
- Step 3: Combine the white chocolate and sweetened condensed milk in the bowl.
- Step 4: Microwave the mixture in 20 to 30 second increments, stirring well after each session until the chocolate is completely melted and smooth. Stir thoroughly before microwaving again to allow residual heat to melt the chocolate evenly.
- Step 5: Once melted, add a few drops of pink gel food coloring. For an ombre effect, leave some of the mixture white by not mixing the color fully throughout.
- Step 6: Optional: fold in dried cherries and sprinkles to add texture and bursts of flavor.
- Step 7: Pour the fudge mixture into the prepared pan and refrigerate for 1 hour until set.
- Step 8: After the fudge has hardened, use a heart-shaped cookie cutter to cut the fudge into shapes. To make cutting easier and protect your hands, place a kitchen towel over the cutter and gently press down.
- Step 9: Serve and enjoy your pretty pink white chocolate fudge!
Tips & Variations
- For a smoother texture, chop the chocolate finely if not using melting wafers.
- Try adding different mix-ins like chopped nuts or dried cranberries instead of cherries.
- Use gel food coloring to avoid adding extra liquid, which could affect the fudge texture.
- For a bolder pink color, gradually increase the food coloring drops to your liking.
Storage
Store the fudge in an airtight container in the refrigerator for up to two weeks. Before serving, you can let it sit at room temperature for a few minutes to soften slightly. Reheating is not necessary, as the fudge is best enjoyed chilled.
How to Serve

Serve this delicious recipe with your favorite sides.
FAQs
Can I use regular white chocolate instead of melting wafers?
Yes, just chop the regular white chocolate into small pieces to ensure it melts evenly without burning.
How do I get the ombre effect with the pink color?
After adding the pink gel coloring, gently swirl it into part of the white chocolate mixture but don’t fully mix it. This creates a gradient of pink to white in the fudge.
PrintPink White Chocolate Fudge Recipe

This Pink White Chocolate Fudge recipe combines smooth white chocolate with sweetened condensed milk and a splash of pink gel food coloring to create a delightful and visually appealing treat. Enhanced with optional dried cherries and colorful sprinkles, this no-bake fudge is perfect for festive occasions or as a charming homemade gift. Quick to prepare and easy to customize, it offers a creamy, melt-in-your-mouth texture with a fun ombre effect.
- Prep Time: 10 minutes
- Cook Time: 3 minutes (melting in microwave)
- Total Time: 1 hour 13 minutes
- Yield: About 36 small pieces (depending on cutter size) 1x
- Category: Dessert
- Method: No-Cook
- Cuisine: American
Ingredients
Fudge Base
- 20 ounces white chocolate melting wafers or high-quality chopped white chocolate
- ½ cup + 1 tablespoon sweetened condensed milk
- Pink gel food coloring, a few drops
Optional Mix-ins
- Sprinkles, as desired
- Dry cherries, chopped, as desired
Instructions
- Prepare the Pan: Line a 9×9 inch pan with parchment paper, allowing the paper to overhang on two sides to aid with removal later. Set aside.
- Chop Chocolate (if using regular chocolate): Finely chop the white chocolate into small pieces to ensure even melting in the microwave.
- Combine Ingredients: In a large microwave-safe bowl, combine the white chocolate pieces or melting wafers with the sweetened condensed milk.
- Microwave and Melt: Microwave the mixture in 20 to 30 second intervals, stirring thoroughly after each session. The residual heat helps melt the chocolate, so be sure to stir well before microwaving again. It typically takes about two intervals to melt completely.
- Color the Mixture: Stir the mixture until smooth, then add a few drops of pink gel food coloring. To achieve an ombre effect, only partially mix the color, leaving some areas white.
- Add Mix-ins: If using, gently fold in dried cherries and sprinkles, which add texture and flavor that pair well with the creamy fudge.
- Pour and Chill: Pour the fudge mixture into the prepared pan and spread evenly. Refrigerate for 1 hour or until fully set and hardened.
- Cut Shapes: Once firm, use a heart-shaped cookie cutter to cut the fudge into hearts. For easier cutting and to protect your hands, place a kitchen towel over the cutter and apply gentle pressure.
- Serve and Enjoy: Arrange the pink and white fudge hearts on a serving platter and enjoy this sweet, festive treat.
Notes
- Using high-quality white chocolate improves the fudge’s taste and texture.
- Microwave times may vary based on your appliance; always melt slowly to avoid burning.
- The ombre effect adds a visually appealing twist but can be omitted for uniform color.
- Dried cherries complement the sweetness of the fudge and add a chewy texture.
- You can store the fudge in an airtight container in the refrigerator for up to 1 week.
Keywords: white chocolate fudge, pink fudge, no-bake fudge, holiday treat, easy dessert, ombre fudge, white chocolate dessert, heart-shaped fudge
