
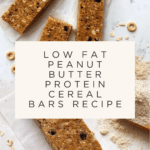
Low Fat Peanut Butter Protein Cereal Bars Recipe
Introduction
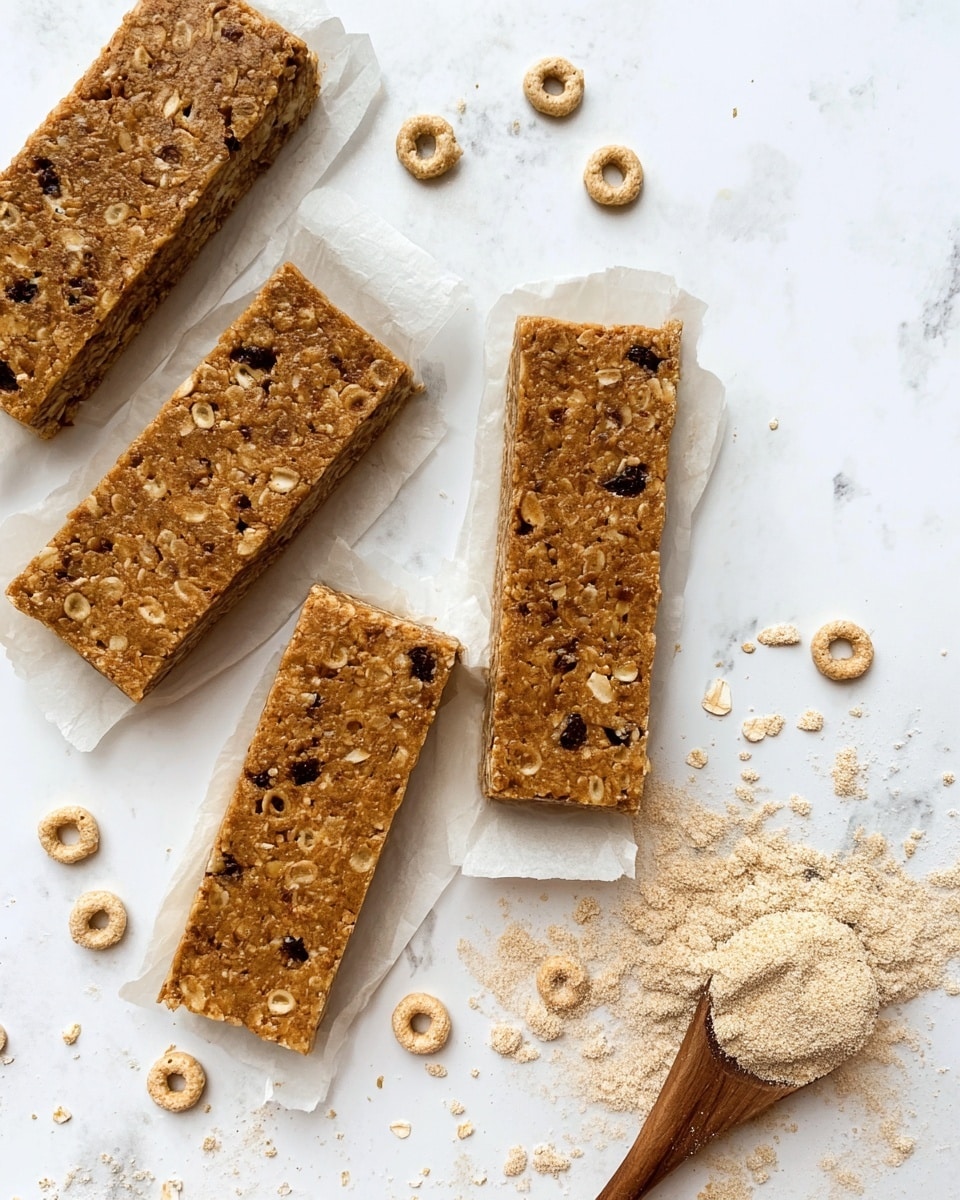
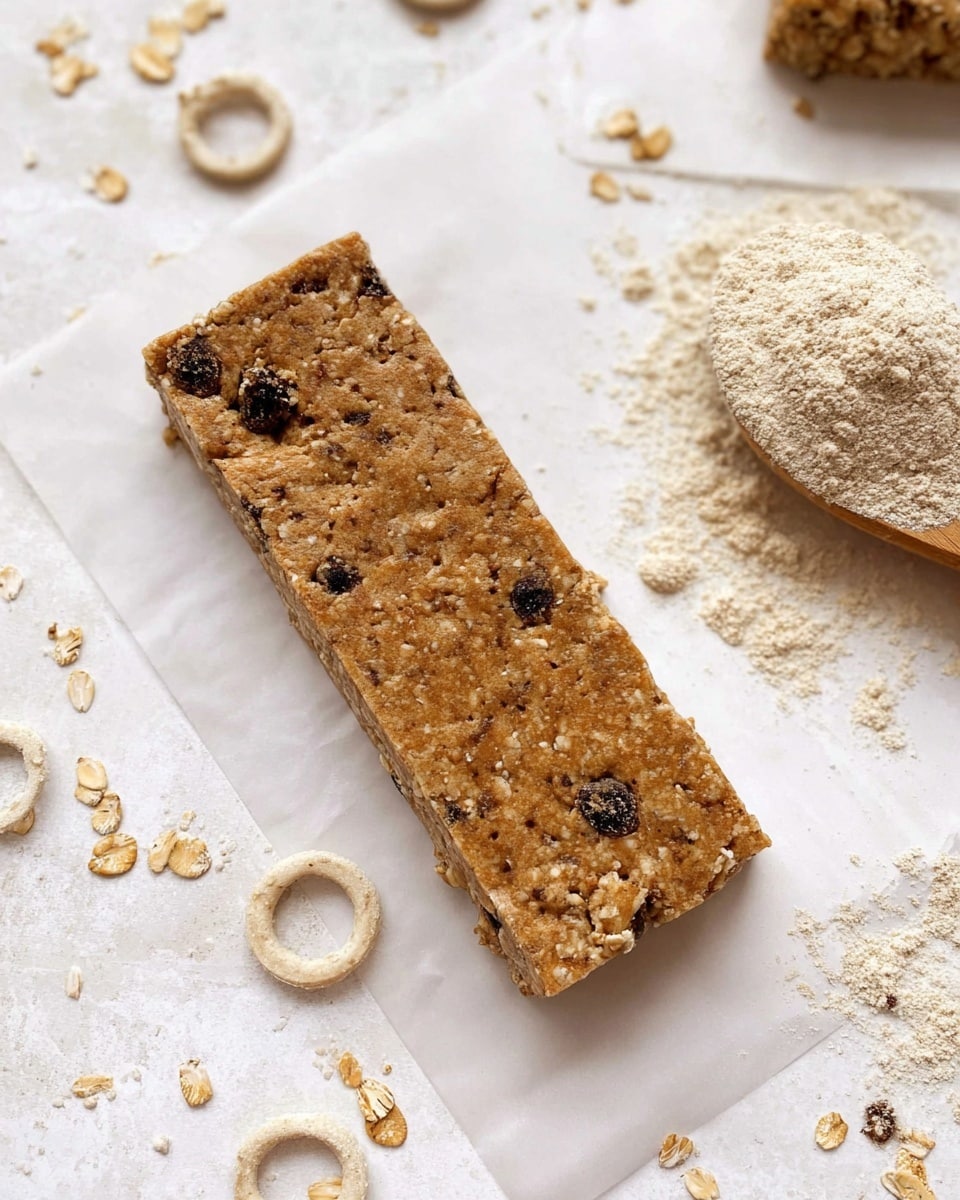
These Low Fat Peanut Butter Protein Cereal Bars are a perfect snack for a quick energy boost. Packed with protein and whole grains, they offer a delicious and healthy way to fuel your day.
Ingredients
- ½ cup Instant (or Rolled) Oats (45g)
- ½ cup Puffed Brown Rice Cereal (9g)
- ½ cup Cheerios (14g)
- ½ scoop Vanilla Protein Powder (15g, 2-3 Tbsp)
- ½ cup Peanut Butter Powder (64g)
- 6 Tbsp Almond Milk
- 2 Tbsp Maple Syrup (Sugar-free recommended)
Instructions
- Step 1: Line an 8½ x 4½ inch loaf pan with parchment paper, leaving an overhang for easy removal later.
- Step 2: In a large bowl, combine the oats, puffed brown rice cereal, Cheerios, and protein powder.
- Step 3: In a small bowl, stir together the peanut butter powder and almond milk until completely smooth.
- Step 4: Pour the peanut butter mixture and maple syrup into the cereal mixture. Use a spatula to fold everything together until you get a thick, sticky mixture that holds its shape.
- Step 5: Transfer the mixture to the prepared loaf pan. Spread and press it down firmly to create an even layer.
- Step 6: Place the pan in the fridge for about 15 minutes to let the bars harden.
- Step 7: Lift the bars out using the parchment overhang. Place them on a cutting board and slice into 8 equal bars with a sharp knife.
Tips & Variations
- For a sweeter bar, add a teaspoon of honey or a pinch of cinnamon to the mixture.
- Swap vanilla protein powder for chocolate flavor for a different taste.
- Add a handful of chopped nuts or mini dark chocolate chips for extra texture.
- Use gluten-free oats and cereals to make the bars gluten-free.
Storage
Store the bars in an airtight container in the refrigerator for up to one week. You can also freeze them for up to a month—just thaw in the fridge before eating. For best texture, enjoy chilled or at room temperature.
How to Serve
Serve this delicious recipe with your favorite sides.
FAQs
Can I use natural peanut butter instead of peanut butter powder?
Using natural peanut butter will add more fat and moisture, so you may need to reduce the almond milk slightly and press the mixture firmly to hold together well.
Can I make these bars vegan?
Yes, choose a plant-based protein powder and use maple syrup or another vegan sweetener to keep the recipe fully vegan.
PrintLow Fat Peanut Butter Protein Cereal Bars Recipe
These Low Fat Peanut Butter Protein Cereal Bars are a nutritious and delicious snack perfect for on-the-go energy. Combining oats, puffed brown rice, Cheerios, protein powder, and peanut butter powder, these bars are low in fat but packed with protein and flavor, making them ideal for a healthy diet or post-workout boost.
- Prep Time: 10 minutes
- Cook Time: 0 minutes
- Total Time: 25 minutes
- Yield: 8 bars 1x
- Category: Snack
- Method: No-Cook
- Cuisine: American
- Diet: Low Fat
Ingredients
Dry Ingredients
- ½ cup Instant (or Rolled) Oats (45g)
- ½ cup Puffed Brown Rice Cereal (9g)
- ½ cup Cheerios (14g)
- ½ scoop Vanilla Protein Powder (15g, 2–3 Tbsp)
- ½ cup Peanut Butter Powder (64g)
Wet Ingredients
- 6 Tbsp Almond Milk
- 2 Tbsp Maple Syrup (Sugar-free recommended)
Instructions
- Prepare the Pan: Line an 8½ x 4½ inch loaf pan with parchment paper, leaving an overhang for easy lifting of the bars later. Alternatively, molds or trays may be used.
- Mix Dry Ingredients: In a large bowl, combine the oats, puffed brown rice cereal, Cheerios, and vanilla protein powder, evenly mixing all components.
- Mix Peanut Butter Mixture: In a separate small bowl, stir together peanut butter powder and almond milk until the mixture becomes completely smooth and creamy.
- Combine All Ingredients: Pour the peanut butter mixture and maple syrup into the bowl with the dry ingredients. Use a spatula to fold the mixture thoroughly. This step may require some effort as the mixture becomes tough but cohesive enough to hold together.
- Transfer and Press: Transfer the combined mixture into the prepared loaf pan, spreading it evenly and pressing down firmly to smooth the surface.
- Chill to Harden: Place the loaf pan in the refrigerator for about 15 minutes to allow the bars to set and harden.
- Slice and Serve: Lift the set mixture out of the pan using the parchment paper overhang, place it on a cutting board, and slice into 8 individual bars with a sharp knife.
Notes
- For best results, use sugar-free maple syrup to keep the sugar content low.
- You can substitute almond milk with any other plant-based milk or skim milk.
- Ensure the mixture is tightly pressed in the pan to help the bars hold their shape when sliced.
- Store bars in the refrigerator for up to one week or freeze for longer storage.
Keywords: peanut butter protein bars, low fat snack, healthy cereal bars, homemade protein bars, no bake protein bars

