
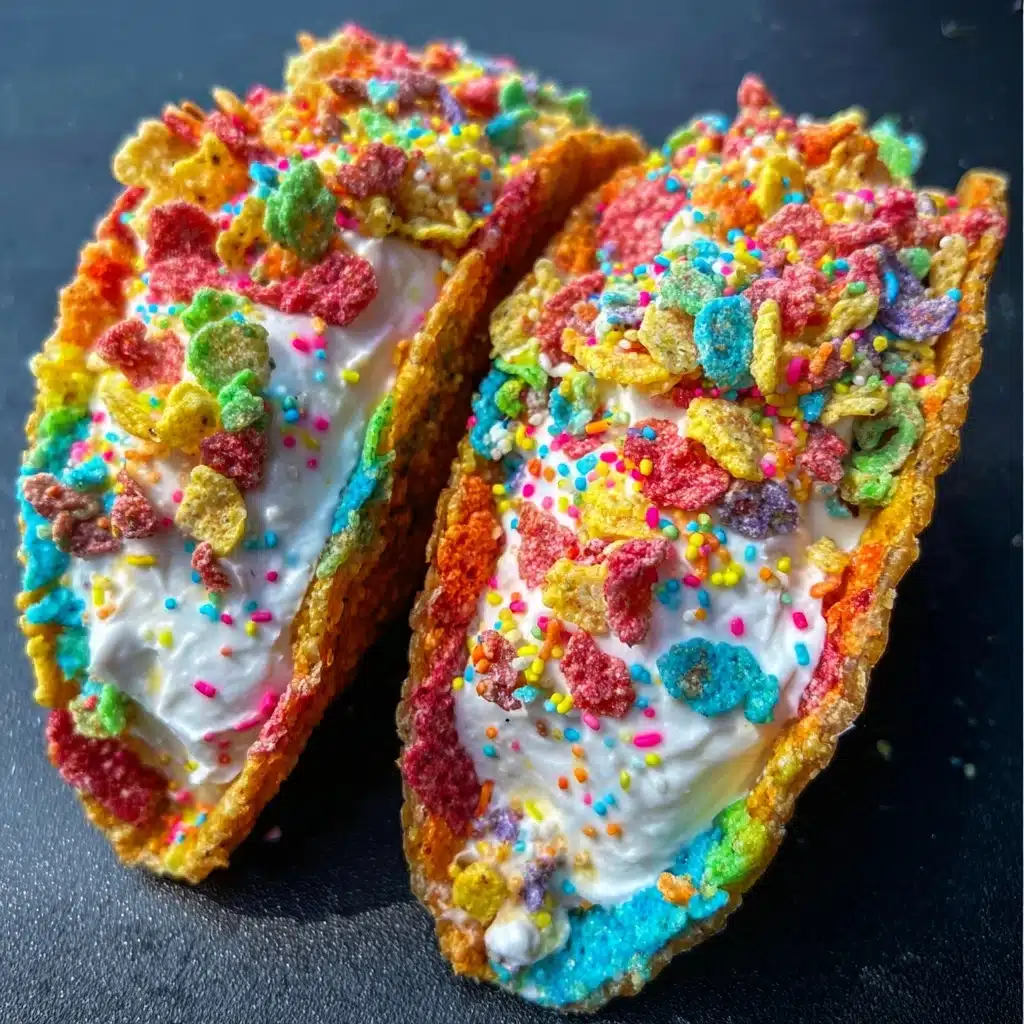
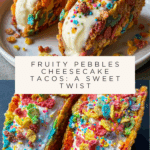
Fruity Pebbles Cheesecake Tacos Recipe
If you’re craving a treat that is as colorful as it is delicious, look no further than Fruity Pebbles Cheesecake Tacos! Imagine the crunch of sweet, rainbow-hued Fruity Pebbles cereal shaped into adorable taco shells, filled to the brim with luscious, creamy cheesecake, and finished with a flurry of more Fruity Pebbles for the ultimate fruity finish. This playful dessert mashes together nostalgic breakfast flavors and classic cheesecake decadence, making it an instant hit at parties, family nights, or anytime you want a little fun on your dessert table. These tacos are as easy to assemble as they are delightful to eat, sure to put smiles on faces of all ages.

Ingredients You’ll Need
Gathering the essentials for Fruity Pebbles Cheesecake Tacos is easy, and every ingredient plays a starring role in taste, texture, or brilliant pops of color. With just a handful of simple staples, you’ll transform classic pantry finds into something truly magical.
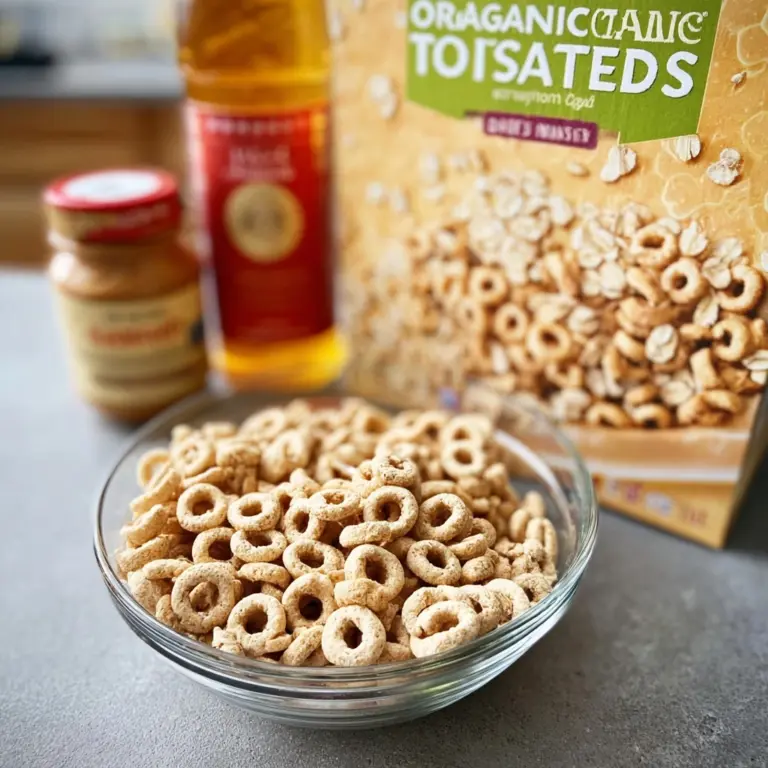
- Fruity cereal: The key to those whimsical shells, Fruity Pebbles provide crunch, color, and plenty of fruity flavor.
- Unsalted butter, melted: This binds the cereal together and gives your shells a rich, buttery note that contrasts beautifully with the filling.
- Cream cheese, softened: For the smoothest, dreamiest cheesecake filling, make sure your cream cheese is at room temperature.
- Powdered sugar, sifted: It sweetens the filling and gives it a velvety, melt-in-your-mouth texture without any grittiness.
- Pure vanilla extract: A splash of vanilla elevates the flavors in your cheesecake, bringing warmth and balance.
- Whipped cream: This folds into the filling for extra lightness and a pillowy, cloud-like mouthfeel.
- Additional fruity cereal: For garnish, tossing more of those iconic fruity bits on top adds crunch and a show-stopping presentation.
How to Make Fruity Pebbles Cheesecake Tacos
Step 1: Mix the Cereal Shell Base
Start by combining your Fruity Pebbles cereal and melted butter in a large mixing bowl. Stir patiently, making sure every little pebble is completely coated in butter. This helps the cereal stick together when forming your taco shells, so don’t rush this part—consistency is key for sturdy shells that don’t fall apart when you fill them.
Step 2: Form and Chill the Taco Shells
Spoon the buttery cereal mixture into taco-shaped molds or, if you don’t have those, muffin tins work just as well. Press and compact the mixture tightly using the back of a spoon, shaping each to resemble a little taco shell. Pop them in the fridge to chill for at least 30 minutes; this solidifies the shells, so they’re crisp yet sturdy enough to hold the creamy filling.
Step 3: Whip the Cheesecake Filling
In a fresh bowl, take your softened cream cheese and beat it with a hand mixer until it’s light and fluffy. Gradually add in the powdered sugar and vanilla, blending bit by bit to maintain a smooth, creamy texture. This is where the cheesecake magic happens—smooth, thick, and just sweet enough.
Step 4: Fold in the Whipped Cream
Using a spatula, gently fold the whipped cream into your cream cheese mixture. Take your time—careful folding keeps the mixture airy and pillowy. You want the filling to be decadent but light, so those first bites feel like a cheesecake cloud inside a crispy shell.
Step 5: Assemble Your Fruity Pebbles Cheesecake Tacos
Once your shells are firm, remove them gently from their molds. Spoon the cheesecake filling into each shell, generously packing in as much as you like. Don’t worry if it looks a little imperfect—the more rustic, the better! Top each filled taco with extra fruity cereal for a burst of color and crunch that everyone will love.
How to Serve Fruity Pebbles Cheesecake Tacos
Garnishes
A generous sprinkle of extra Fruity Pebbles on top is an absolute must. Not only do they add a final touch of crunch and vibrancy, but they also signal to everyone that there’s something fun and unexpected inside. You can also add a dollop of whipped cream or a drizzle of white chocolate if you want to go all-out!
Side Dishes
Because Fruity Pebbles Cheesecake Tacos are so eye-catching and decadent, it’s best to serve them with something light. Fresh fruit like berries or orange slices make a perfect, refreshing complement. If you’re in a celebratory mood, set up a dessert bar with different mini cheesecakes, fruit slices, and a selection of fun sprinkles for everyone to customize their own taco.
Creative Ways to Present
Have fun with presentation! Arrange your tacos upright in a decorative taco holder or nestle them in cupcake liners for easy grabbing at parties. For kids’ parties, use colorful plates and scatter a few extra Fruity Pebbles around each taco for a playful effect. You can even add mini flags or festive picks to make each serving a showstopper.
Make Ahead and Storage
Storing Leftovers
If you happen to have leftovers (though that’s rare!), store them in an airtight container in the fridge. The crunchy shells will gradually soften as they sit, but they’ll still taste fantastic, especially if eaten within 1–2 days. Try keeping the shells and filling separate until just before serving for the crispiest results.
Freezing
You can freeze Fruity Pebbles Cheesecake Tacos, but there are a few tips to keep them fresh. Wrap each assembled taco tightly in plastic wrap before popping into a freezer bag. When ready to serve, thaw them in the fridge for several hours. Keep in mind that the cereal may be a bit softer once thawed, but the flavors will still shine through.
Reheating
These treats are best eaten chilled or at room temperature. There’s no need to reheat—just let them sit out for a bit to lose their chill or pop directly from the fridge if you prefer them cold. Avoid microwaving, as it will soften and potentially melt the shells and filling.
FAQs
Can I use a different cereal for the shells?
Absolutely! While Fruity Pebbles provide those iconic bright colors and fruity flavor, you can substitute with Cocoa Pebbles or even Rice Krispies for a different twist. Just note, the flavor and vibe will change with your cereal choice.
Do I need to use molds to shape the shells?
Molds make shaping easier, but if you don’t have them, simply use the back of a muffin tin to create a curved taco shell or shape by hand while the mixture is still pliable, then chill until firm.
Can I make Fruity Pebbles Cheesecake Tacos ahead of time?
You bet! Prep the shells and cheesecake filling a day in advance, but store them separately. Fill and garnish just before serving for the best combination of crispy shell and creamy filling.
Is there a substitute for whipped cream in the filling?
If you’re short on whipped cream, you can fold in whipped topping like Cool Whip, or whip heavy cream yourself to stiff peaks. The goal is to infuse the cheesecake with airy, light texture.
How do I keep the shells from falling apart?
Be sure to pack the cereal mixture tightly into the molds and allow plenty of chilling time. The melted butter binds everything, but compacting ensures the shells hold together when filled.
Final Thoughts
There’s something truly magical about Fruity Pebbles Cheesecake Tacos—they turn any occasion into a celebration and invite you to play with your food, just a little. Give this recipe a try and delight in the joy, color, and creamy-crunchy fun they bring to your table. You might just find yourself making them again and again, for all the happiest reasons!
PrintFruity Pebbles Cheesecake Tacos Recipe

These Fruity Pebbles Cheesecake Tacos are a playful and delicious twist on traditional cheesecake. The fruity cereal shells add a fun crunch to the creamy cheesecake filling, making them a delightful treat for all ages.
- Prep Time: 20 minutes
- Cook Time: 0 minutes
- Total Time: 50 minutes
- Yield: 12 tacos 1x
- Category: Dessert
- Method: Mixing, Chilling
- Cuisine: American
- Diet: Vegetarian
Ingredients
Shells
- 3 cups fruity cereal
- 1/2 cup unsalted butter, melted
Filling
- 8 oz cream cheese, softened to room temperature
- 1/2 cup powdered sugar, sifted
- 1 tsp pure vanilla extract
- 1 cup whipped cream
Garnish
- Additional fruity cereal
Instructions
- Combine the fruity cereal and melted butter: In a mixing bowl, stir thoroughly until every piece is evenly coated.
- Press the cereal mixture: Firmly into small taco-shaped molds or muffin tins. Compact tightly and chill in the refrigerator for at least 30 minutes.
- Beat the cream cheese: Using a hand mixer until light and fluffy. Gradually add powdered sugar and vanilla extract, blending until smooth.
- Fold whipped cream: Gently into the cream cheese mixture, using a spatula to maintain a light texture.
- Spoon the cheesecake filling: Into each shell generously once they are firm.
- Sprinkle additional fruity cereal: Over the filled shells. Serve immediately or chill for a firmer texture.
Notes
- You can customize the taco shells by using different types of cereal for varied flavors.
- Ensure the cream cheese is softened to room temperature for a smooth filling.
Nutrition
- Serving Size: 1 taco
- Calories: 220
- Sugar: 12g
- Sodium: 150mg
- Fat: 15g
- Saturated Fat: 9g
- Unsaturated Fat: 5g
- Trans Fat: 0g
- Carbohydrates: 20g
- Fiber: 1g
- Protein: 3g
- Cholesterol: 45mg
Keywords: Fruity Pebbles, Cheesecake Tacos, Dessert, Fruity Cereal, Easy Recipe
